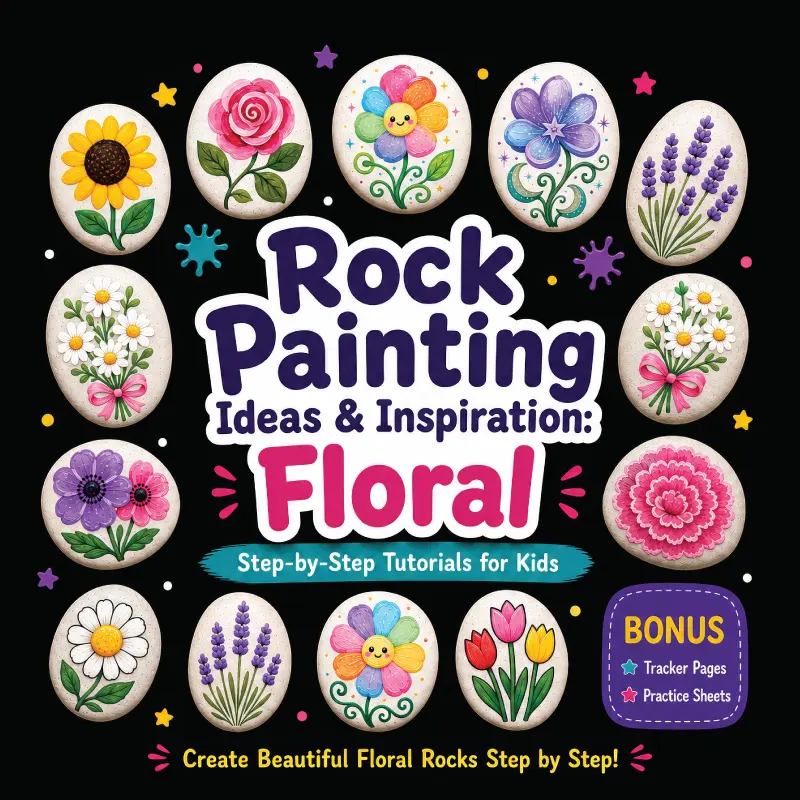
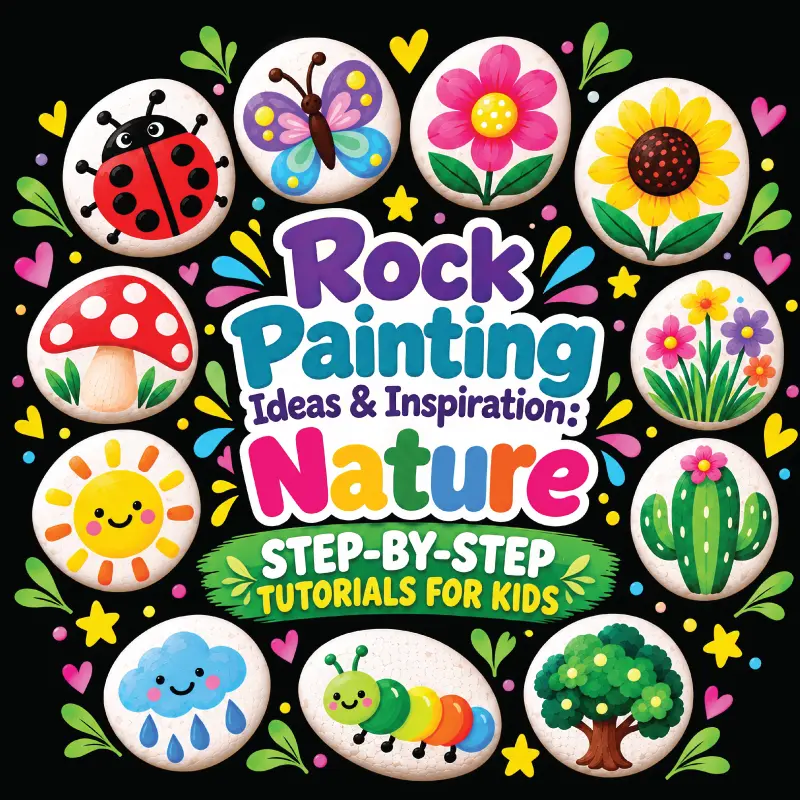
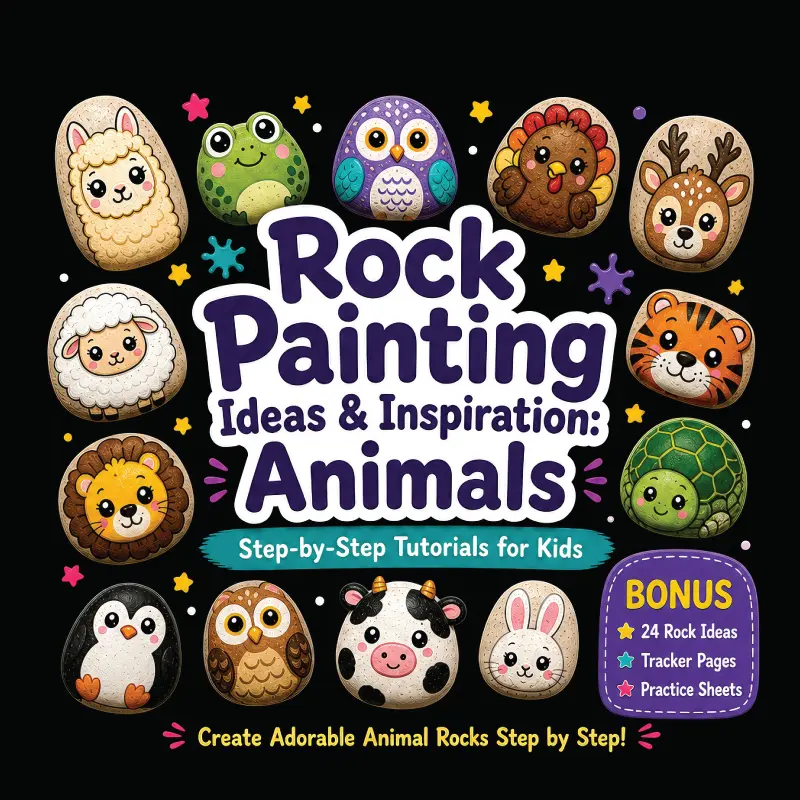
Rock painting is the art of decorating stones to create pictures, patterns, designs, words, or characters. It is a simple creative craft that can be enjoyed by children and adults alike. Rock painting is a popular arts and craft activity because it requires few supplies and can be enjoyed by beginners at any age. A plain rock becomes a canvas that can be turned into a small piece of artwork.
There are no strict rules about painting a rock, so you can experiment with different shapes and designs to create something that is entirely your own. Use dots, lines, circles, and basic shapes to make fun art pieces. This can be a rainy-day craft, a screen-free activity, a weekend family project, a holiday activity, or an easy art activity for children.
In this article, you’ll find everything you need to get started, including supplies, how to prepare rocks, painting techniques, and some great ideas to turn rocks into masterpieces.
- Rock Painting is a Fun-Filled Activity for Kids
- What You Need to Get Started with Rock Painting
- Choosing Rocks for Rock Painting
- Where Can You Find Rocks?
- How to Prepare Rocks for Painting
- What Paint Is Best for Rock Painting?
- What About Paint Pens?
- Easy Rock Painting Ideas for Kids
- Easy Rock Painting Techniques
- Tips for Parents When Painting Rocks with Kids
- What Can Kids do with their Painted Rocks?
- Ready to Start Painting?
Rock Painting is a Fun-Filled Activity for Kids
Rock painting is more than just a fun craft. It gives children an opportunity to experiment with colors, shapes, patterns, textures, and their own ideas. As they choose colors, hold brushes, create designs, and watch their ideas come to life, they are also developing skills that can support their physical, cognitive, and creative development.
- Encourages Creativity: There are no strict rules when painting rocks. A child can turn a rock into a ladybug, a fish, a flower, or something completely imaginary. This freedom allows kids to experiment and discover their own creative style.
- Develop Fine Motor Skill: Holding a paintbrush, dipping it into paint, and carefully applyin gpaint to a small surface requires controlled hands and finger movements. These activites help children practice the fine motor skills they use in many daily tasks.
- Improves Hand-Eye Coordination: Painting involves watching where the brush is going while controlling its movements. Following outlines, filling shapes, adding dots, and painting small details give children the opportunity to practice hand-eye coordination.
- Encourages Mindfulness and Focus: Painting can encourage children to slow down and concentrate on what they are doing. Focusing on colors, brush strokes, and small details can make the activity calming and provide a welcome break from busy or screen-focused activities.
- Provides Sensory Exploration: Rock painting gives children opportunities to explore different sensory experiences – the texture and weight of the rock, the feel of the paintbrush, the movement of paint across the surface, and the visual experience of mixing and combining colors.
- Builds Confidence and Self-Expression: There is no single “correct” way to paint a rock. Children can make their own choices about colors, designs, and patterns. Seeing their ideas become something tangible can give them a sense of accomplishment and encourage them to express themselves creatively.
- Develops Patience and Persistence: Some designs take several layers or require waiting for paint to dry before adding the next detail. Rock painting gives children an opportunity to practice slowing down, trying again, and completing a project step by step.
- Encourages Problem-Solving: What happens when a color doesn’t look the way they expected? What can they do when there isn’t enough space for all the details? These little challenges encourage children to make decisions, experiment, and find creative solutions.
- Nurtures Imagination: A rock can become almost anything a child imagines. A simple oval might become a turtle, a spaceship, a monster, or a magical creature. This open-ended nature of rock painting gives children plenty of room to use their imagination.
- A Fun Screen-Free Activity: Painting rocks is an easy way to replace some screen time with a hands-on activity. Kids can paint indoors at a table or take their supplies outside on a nice day.
- Great for Family Time: Rock painting doesn’t have to be a solo activity. Parents, grandparents, siblings, and friends can all paint together. Try giving everyone the same type of rock and seeing how differently each person decorates it.
- Suitable for Different Skill Levels: Young children can paint simple dots, stripes, faces, and colorful shapes, while older children can experiment with animals, flowers, shading, lettering, and more detailed designs. The important thing is to choose projects that match the child’s ability and attention span.
What You Need to Get Started with Rock Painting
You don’t need a huge collection of art supplies to get started. Here are the basics:
- Smooth rocks or stones
- Acrylic paint
- A few paintbrushes
- Pencil
- Water
- Paper towels
- A palette or paper plate
- Black and white paint
- Newspaper or a protective table covering
- Paint pens (optional)
- Fine-detail brushes (optional)
- Cotton buds for making dots (optional)
- Acrylic sealer (optional)
- Apron or old clothes (optional)
For younger children, keep the setup simple. A few basic colors and different-sized brushes are usually enough. If you are using paint, sealers, or other art materials, always follow the product’s instructions and provide appropriate adult supervision.
Choosing Rocks for Rock Painting
Here are a few tips to choose the rock for your rock painting activity. The rock you choose can make painting much easier or much harder. For beginners, look for rocks that are:
- Relatively smooth
- Fairly flat
- Free from sharp edges
- Large enough to hold comfortably
- Light-colored when possible
Flat or slightly rounded rocks are particularly useful because they provide a good painting surface. Very rough rocks can still be painted, but their texture can make it difficult to draw small details.
Where Can You Find Rocks?
You may find suitable rocks in your garden, around your property, or while exploring outdoors. However, don’t assume that rocks can be collected everywhere. Some parks, beaches, nature reserves, and other public areas have rules against removing natural materials. Check local regulations before collecting rocks.
If you want consistent shapes and sizes for your rock painting project, you can consider buying them from a garden store or a craft shop.
How to Prepare Rocks for Painting
Before reaching for the paintbrush, take a few minutes to prepare the rock.
- Step 1: Clean the Rock – Wash the rock with water to remove dirt, dust, and loose debris.
- Step 2: Let It Dry – Make sure the rock is completely dry before painting. Paint can behave differently on a damp or dirty surface.
- Step 3: Add a White Base Coat – This step is optional, but a white base coat can make bright colors stand out. A white background is particularly helpful when painting on dark-colored stones.
- Step 4: Let the Base Coat Dry – Don’t rush this part. Allow the base coat to dry before adding your design.
- Step 5: Sketch Your Design – For more complicated designs, lightly draw the basic shapes with a pencil first. You don’t need to draw every detail. Simple outlines are often enough to guide your painting.
What Paint Is Best for Rock Painting?
Acrylic paint is one of the most popular choices for painting rocks. It comes in many colors, dries relatively quickly, and works well for both simple and detailed designs. For children, start with a small selection of colors rather than buying every color available. A basic collection could include:
- White
- Black
- Red
- Yellow
- Blue
- Green
- Pink
- Purple
- Orange
You can mix many additional colors from these basic paints. In our books, we have some basic guide to help you create different hues from these basic colors.
What About Paint Pens?
Paint pens can be very useful for adding small details, outlines, dots, and lettering. For example, after painting a colorful flower, a child can use a fine paint pen to add the center and outline the petals. Always check the manufacturer’s instructions to make sure the product is suitable for the intended use and age group.
Easy Rock Painting Ideas for Kids
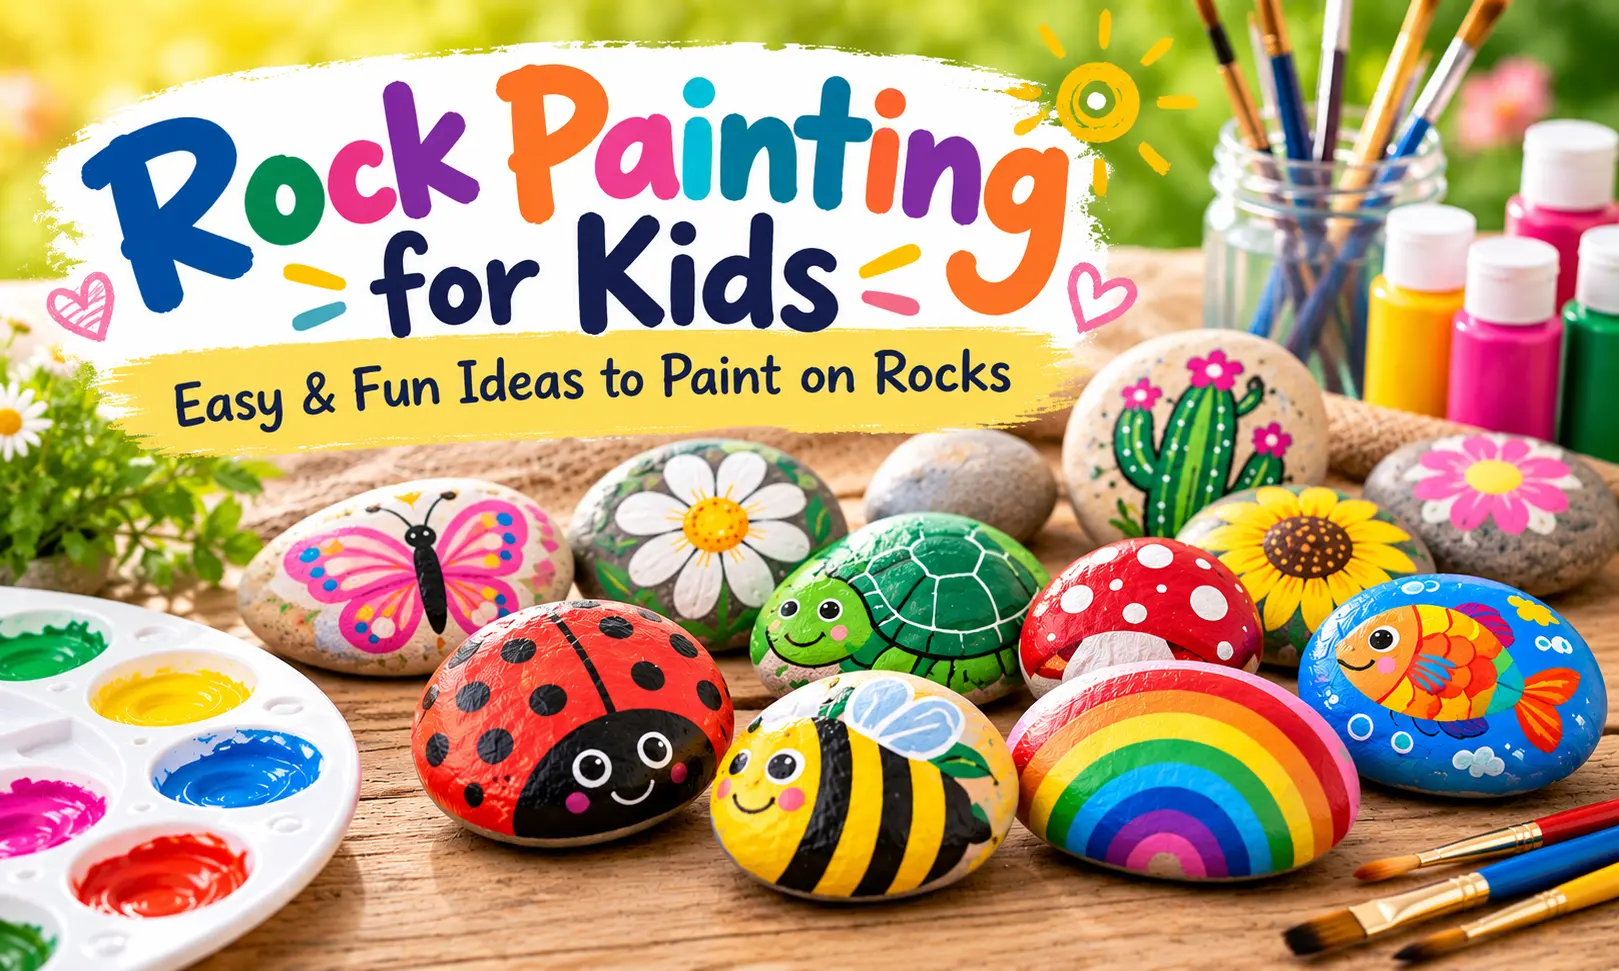
Now comes the fun part! You don’t need to be an experienced artist to create these designs. Many of them are based on simple shapes and can be adapted to different ages and skill levels. Below are some rock painting ideas that you could get started with:
- Ladybug
- Bee
- Butterfly
- Fish
- Turtle
- Penguin
- Cat
- Dog
- Sun
- Rainbow
- Cloud
- Mountain
- Cactus
- Flower
- Mushroom
- Stars
- Trees
Easy Rock Painting Techniques
Below are some techniques you can use for rock painting:
- Dot painting
- Layering
- Simple outlines
- Color blending
Tips for Parents When Painting Rocks with Kids
- Protect the work surface: Cover the table with newspaper, an old tablecloth, or another protective surface.
- Keep water nearby: You will need water for rinsing brushes between colors.
- Don’t use too much paint: A small amount of paint is usually enough for most projects.
- Allow each layer to dry: Trying to paint over wet paint can cause colors to mix unintentionally.
- Don’t correct every mistake: Rock painting doesn’t have to be perfect. Sometimes the mistake is the best part of rock painting.
What Can Kids do with their Painted Rocks?
- Create a rock collection: Display the finished rocks together and keep adding new designs.
- Make garden decorations: Place painted rocks around plants or in a garden area.
- Give them as gifts: A hand-painted rock can make a simple, personalised, and inexpensive handmade gift.
- Make a seasonal collection: Create different rocks for every festivity, birthday or other occassions.
- Start a family project: Give each family member a rock and create a collection together.
Ready to Start Painting?
Get started with your rock painting project today. It doesn’t require expensive equipment, advanced artistic skills, or prior preparation. A few smooth rocks, some colorful paint, and a little imagination is enough to get your started.
If you are looking for guided projects, the below step-by-step rock painting books can give young artists new ideas to try, with designs they can follow and customize with their own colors and creative touches.